I’m someone who gets abundantly excited about trying new stationery and pens. Luckily, keeping journals gives me an excuse to use all my inks, stickers, washi tapes, brush pens, highlighters, and stamps that I hoard up in my office. This post serves as a selected archive of some of my planner and bullet journal spreads.1
I used to post on my inactive studygram and studyblr what I found aesthetically pleasing examples of notes and spreads. ↩
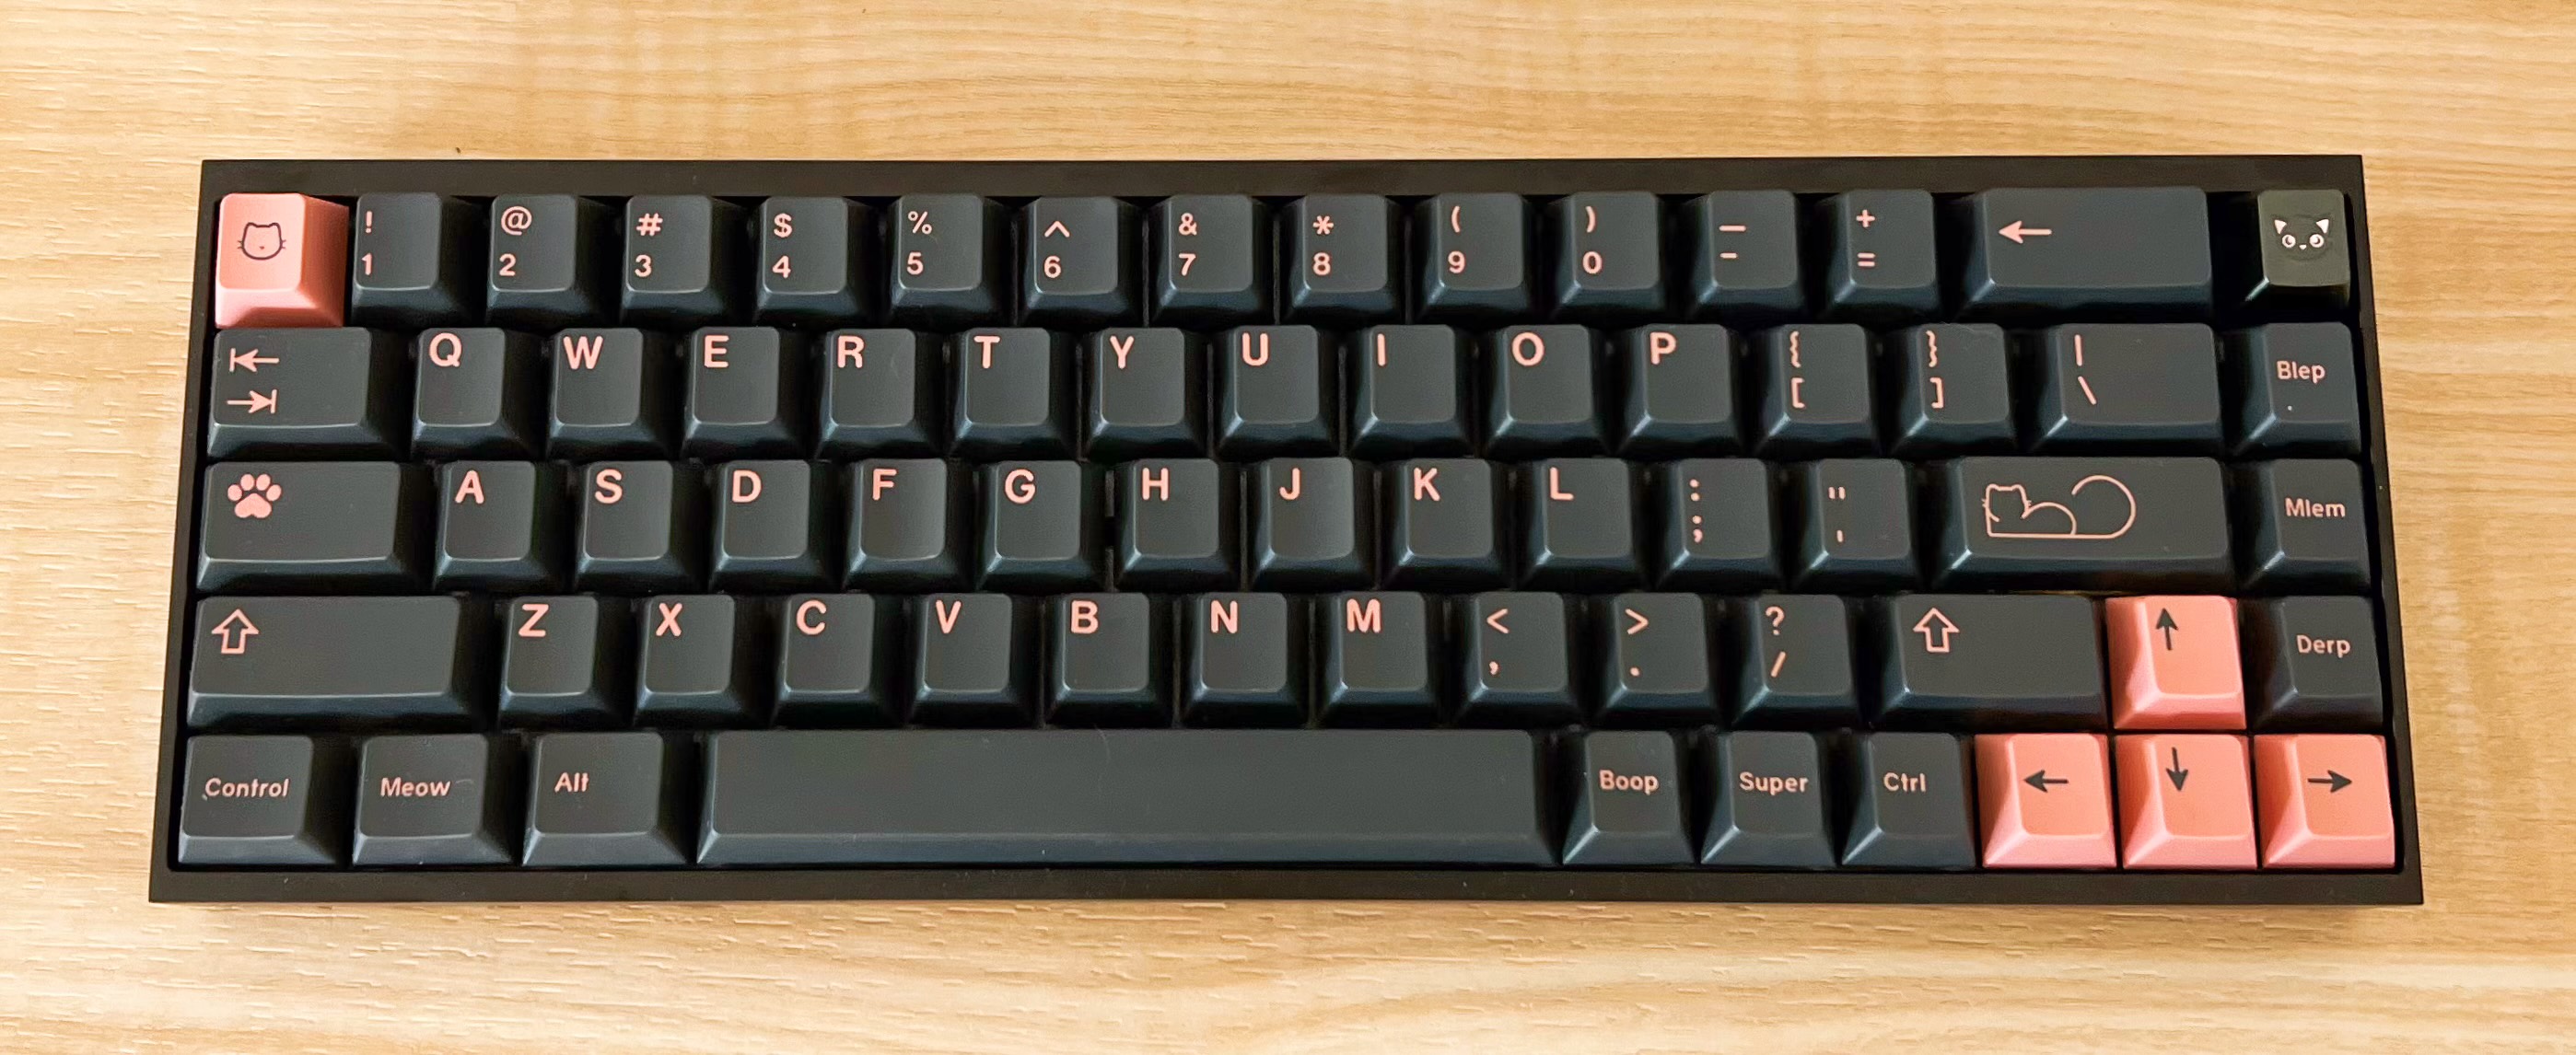
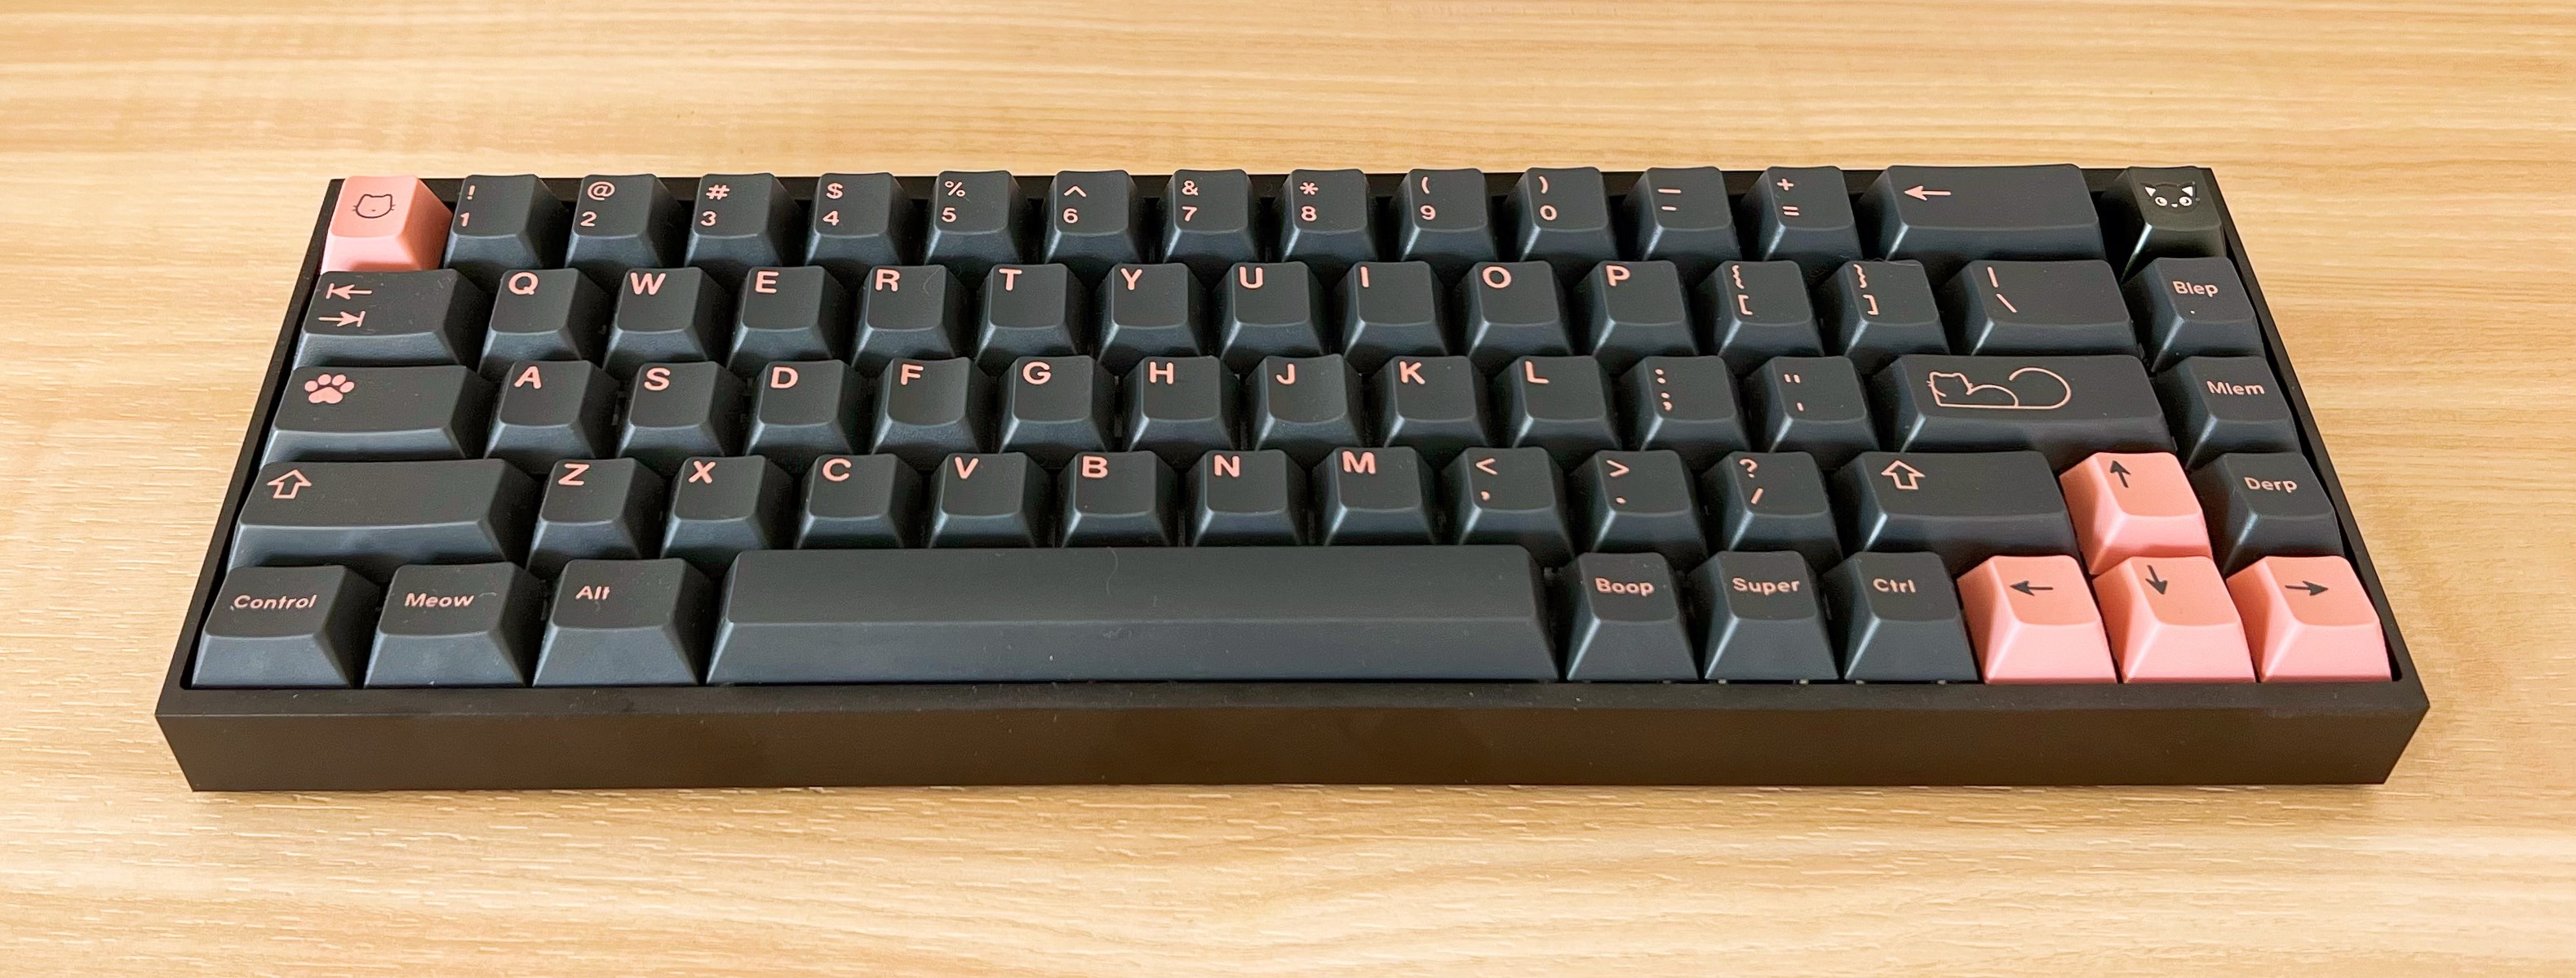
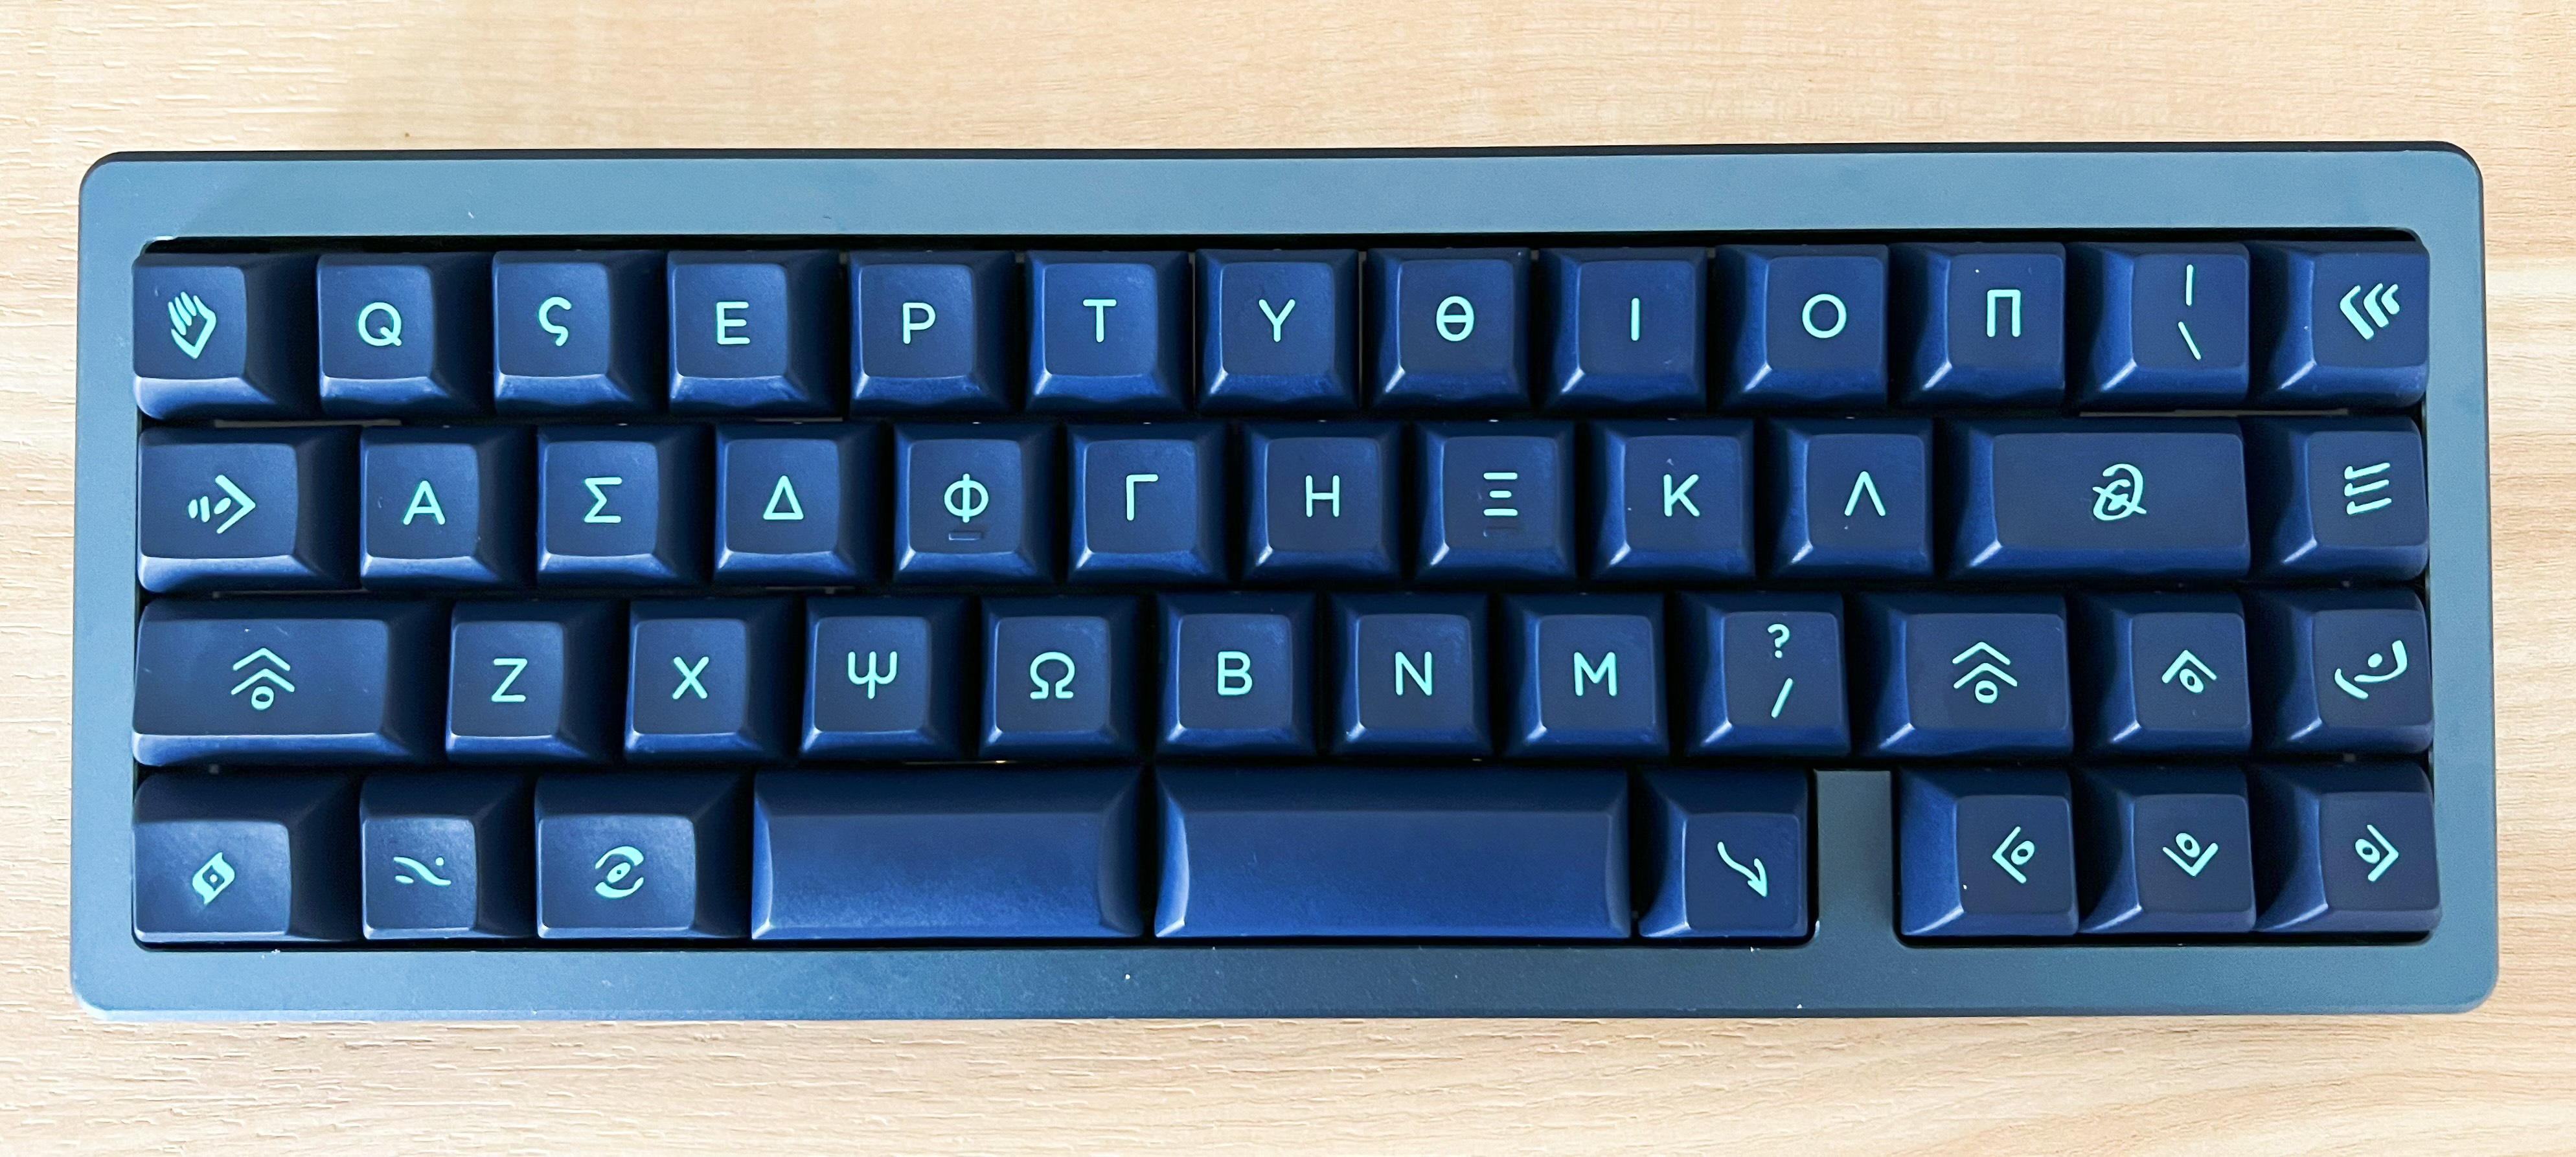
GMK Pono keycaps, Cherry profile (bought unsealed from r/mechmarket)
included the RAMA x Gray Kitty metal artisan
The Process
Lubing Switches
While many switches come factory lubed, it is usually recommended to hand-lube them as well to your preference. The process from disassemling a switch and lubing it is detailed in this Taeha Types video. Below are videos of my process.
Ignore background noise. It was a struggle filming this and concentrating on opening the switches at the same time.
Lubing Stabilizers
Stabilizers keep the longer keys (ex. shift, space bar) on the keyboard from wobbling. Lubing stabilizers is considered the most important keyboard mod as it makes the greatest difference. I followed this Taeha Types video for lubing the stabilizers.
Assembling Pieces
The last thing to do is put all the pieces together! I didn’t take a video of this, but usually you can find specific instructions online. To be honest, I installed the stabilizers incorrectly twice, so I’ll be careful of that next time.
Conclusion
I am extremely satisfied with my first keyboard build. I chose a 65% layout because I felt like it was the perfect balance of convenience. It has silent switches, so I don’t have to worry about annoying everyone at the library. Next time, I hope to experiment with linear switches. The only thing I dislike is how heavy it is (although I believe it is a “normal” weight for a good mechanical keyboard).
Below is a minute-long summary of putting the keyboard together.
Conclusion
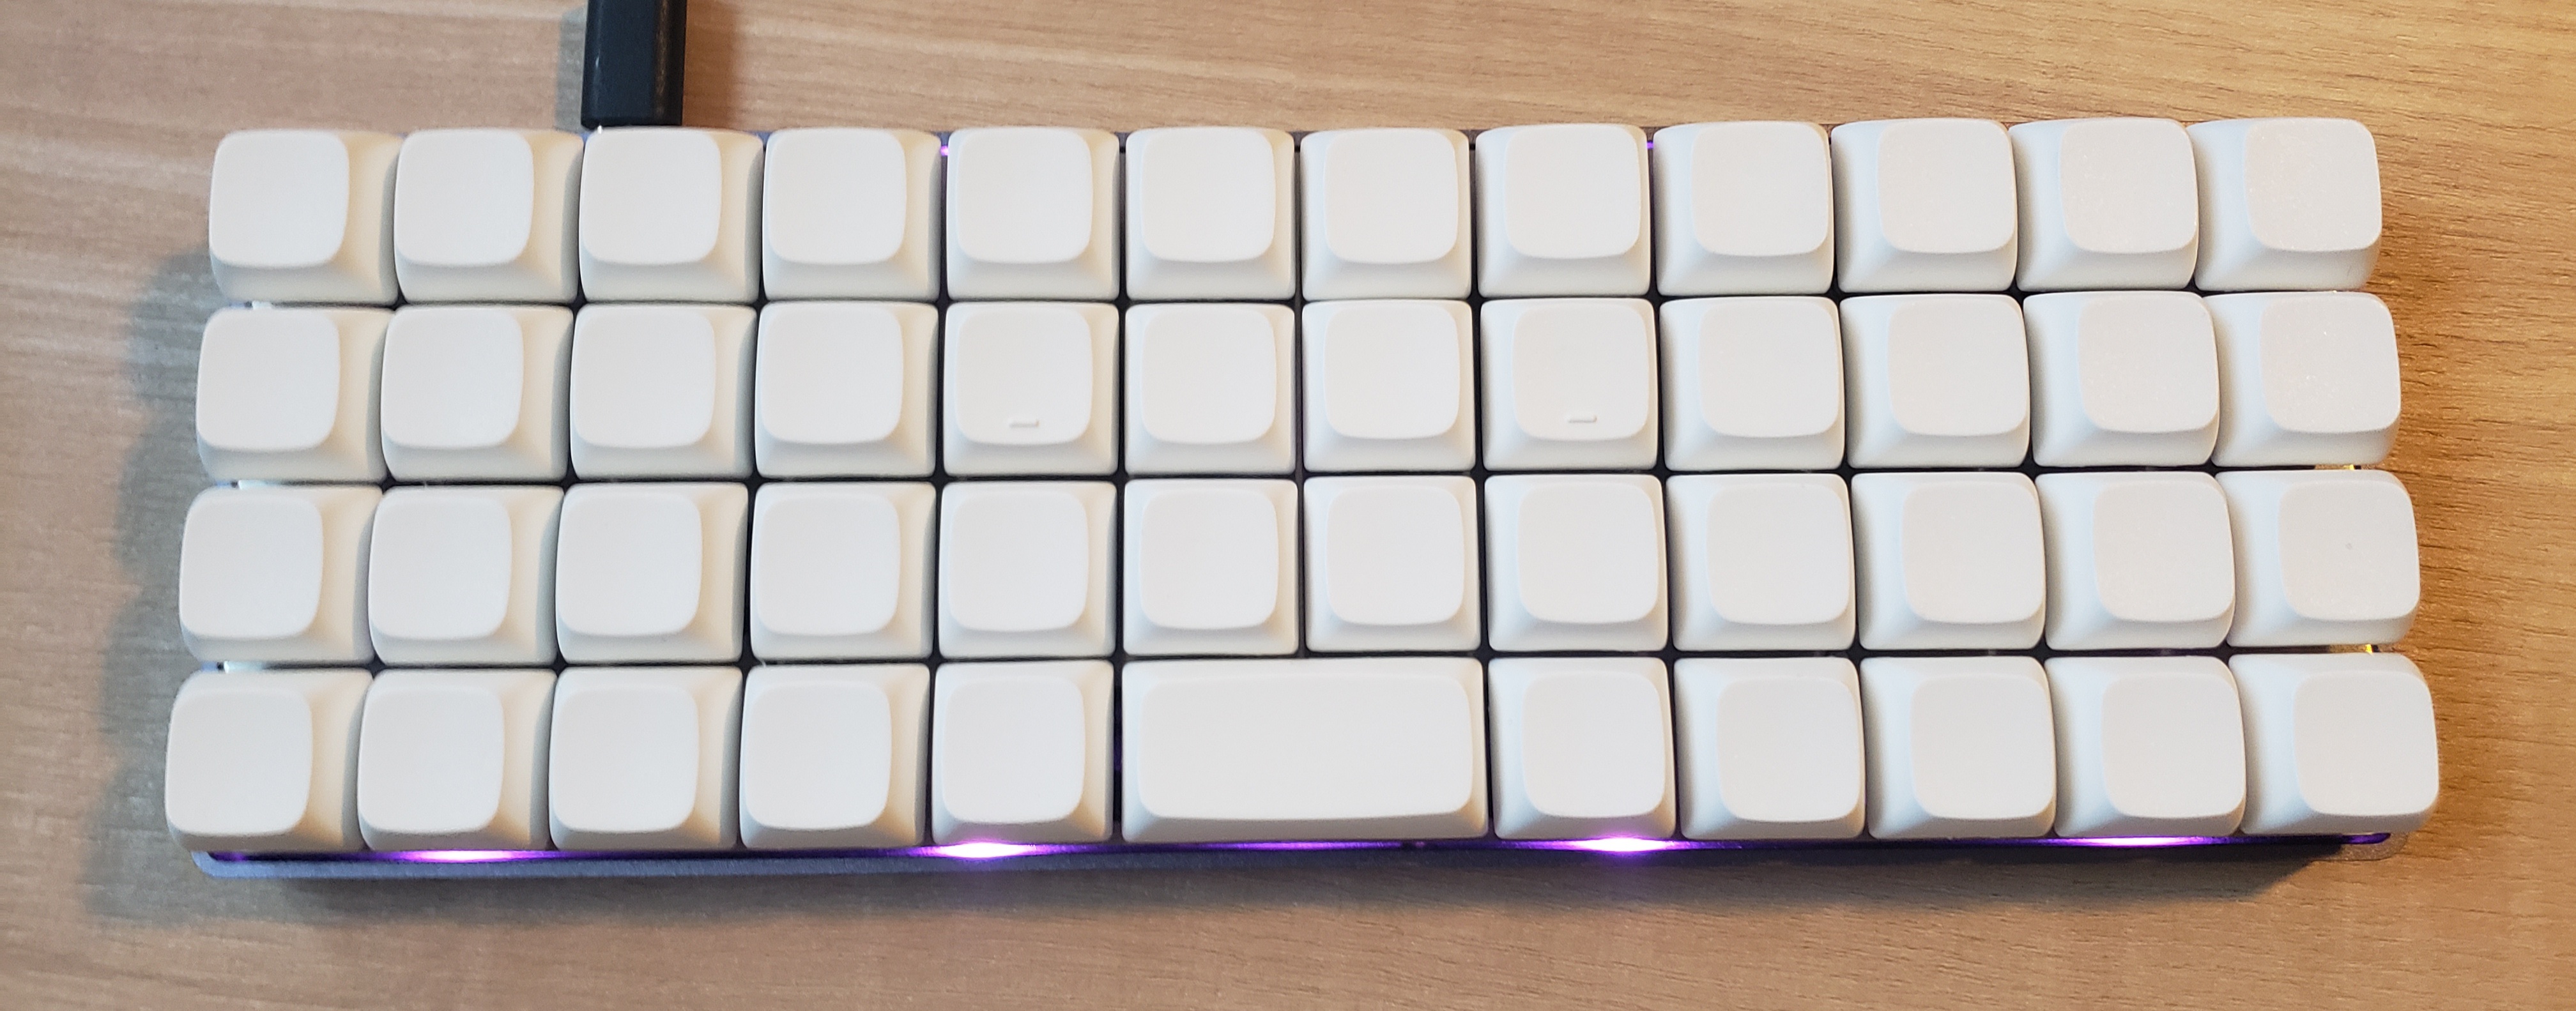
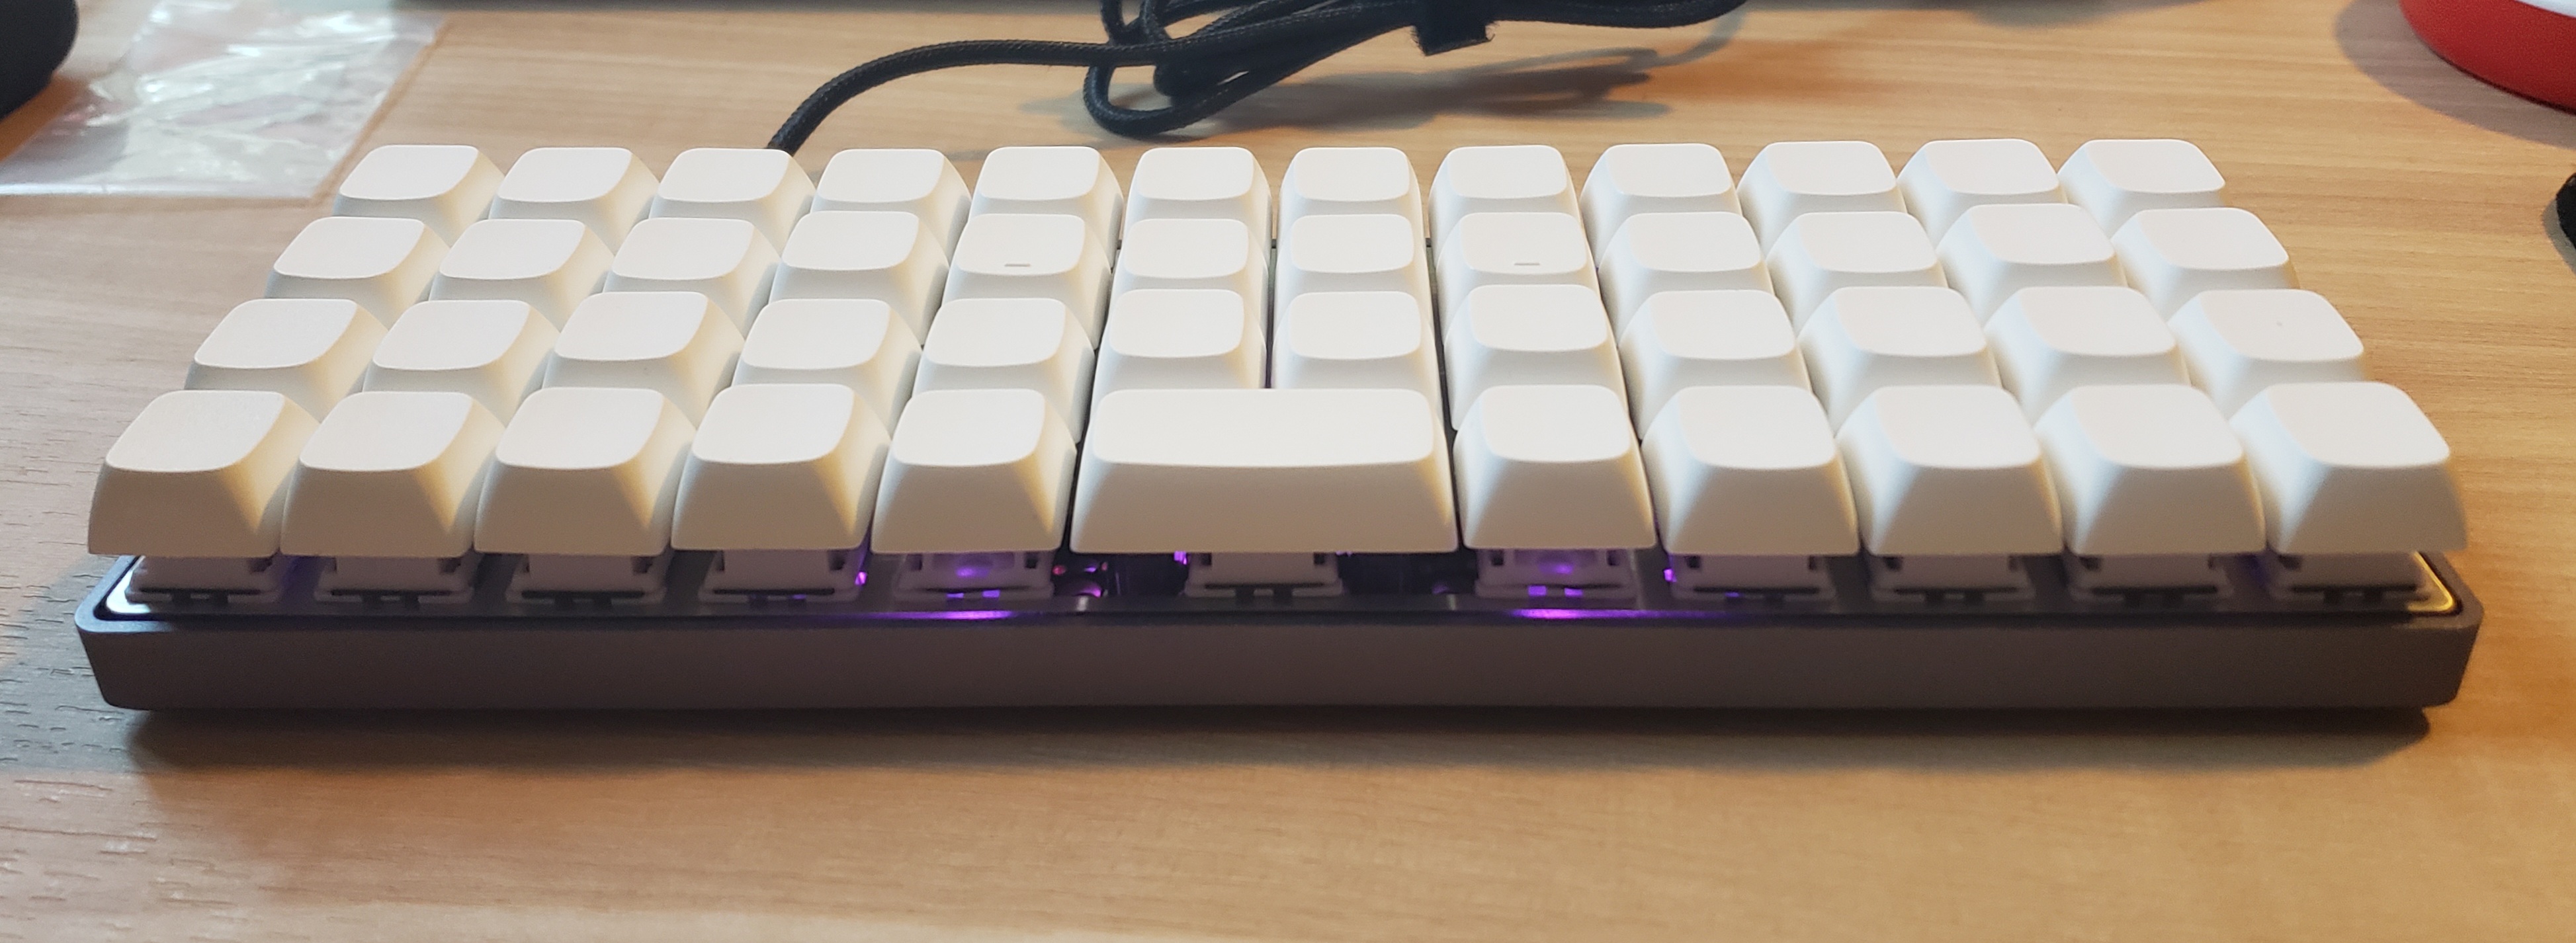
It took way less time than expected to get used to the ortholinear keyboard layout, but I am still way slower on it than on the staggered layout. Not only did I have to get used to an ortholinear layout, I also had to get used to using the layers (to type numbers and most symbols) all while on a blank keycap set. Go big or go home. I’m also satisfied with how the Hippo switches sound and feel. My favorite part is how portable this keyboard is!
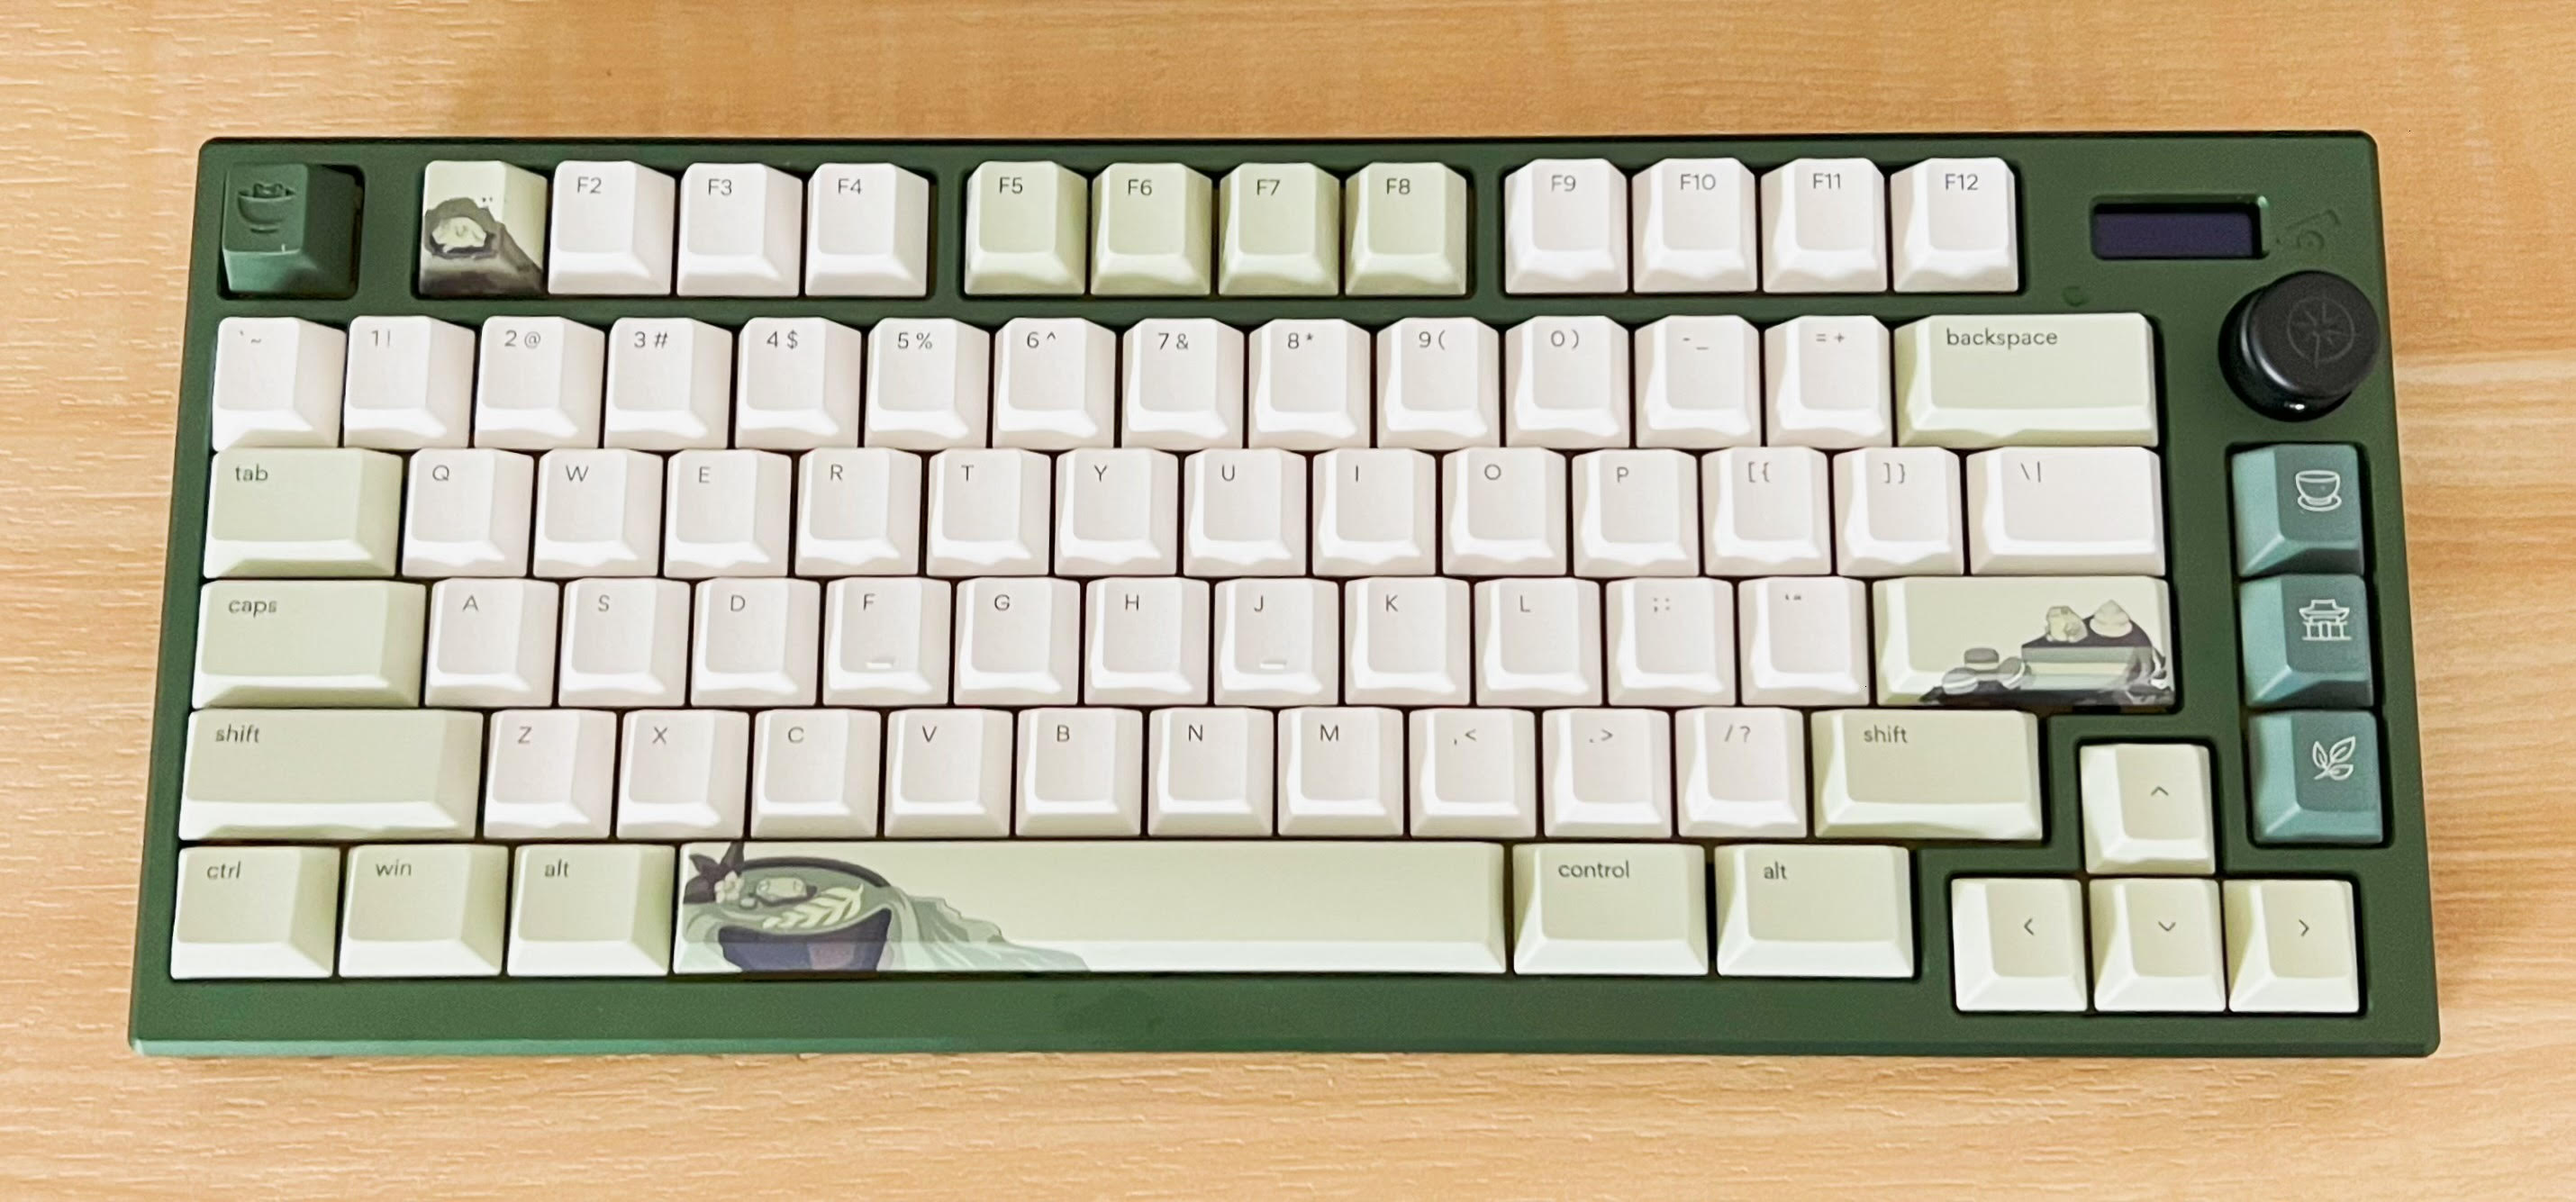
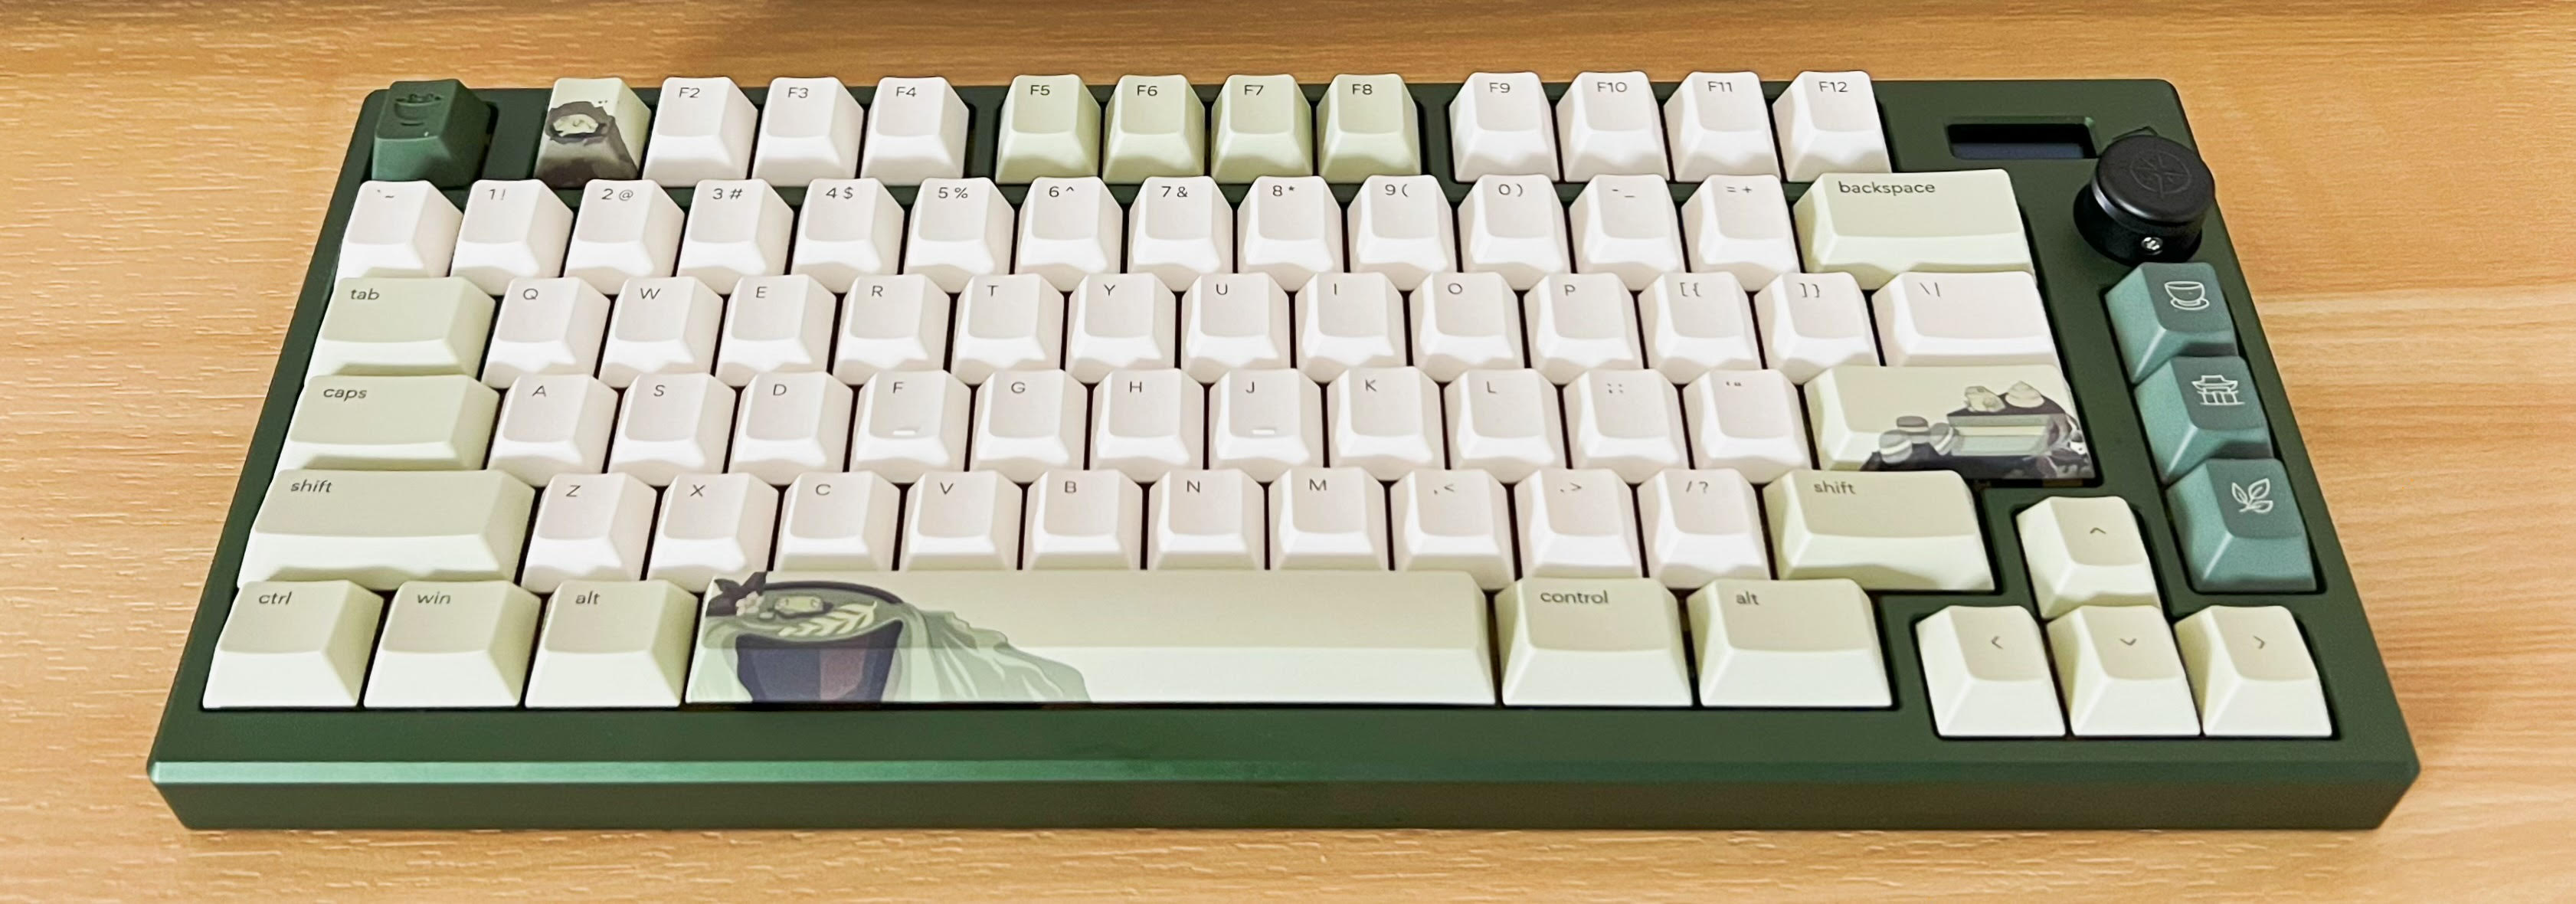
Osume Matcha keycaps, cafe novelty kit and metal artisan (Osume)
The Process
When the Sat75 extras drop was announced by CannonKeys, I literally blocked the time on my calendar. Luckily, I have experience registering for classes. At exactly 11am, I joined the waitlist and was randomly selected to snag a B-stock kit. To be honest, I only notice the tiniest of blemishes if I really look for them, so I think it’s a great value.
To build it, I used the soldering iron at Duke’s Co-lab – I paid tuition, so might as well go use it at least once. This was the first time in my life that I did anything remotely hands-on DIY, much less handling an 800-degree small metal melter.
OLED and Rotary Knob
This keyboard is my first one with a mini-OLED screen and rotary encoder. Are they really useful, or just hyped gimmicks? My answer is: both. But who cares? It sparks so much joy1 to see what layer you’re on or changing your music’s volume with a rotation. Of course, I installed (an open-source) Bongo Cat for the OLED.
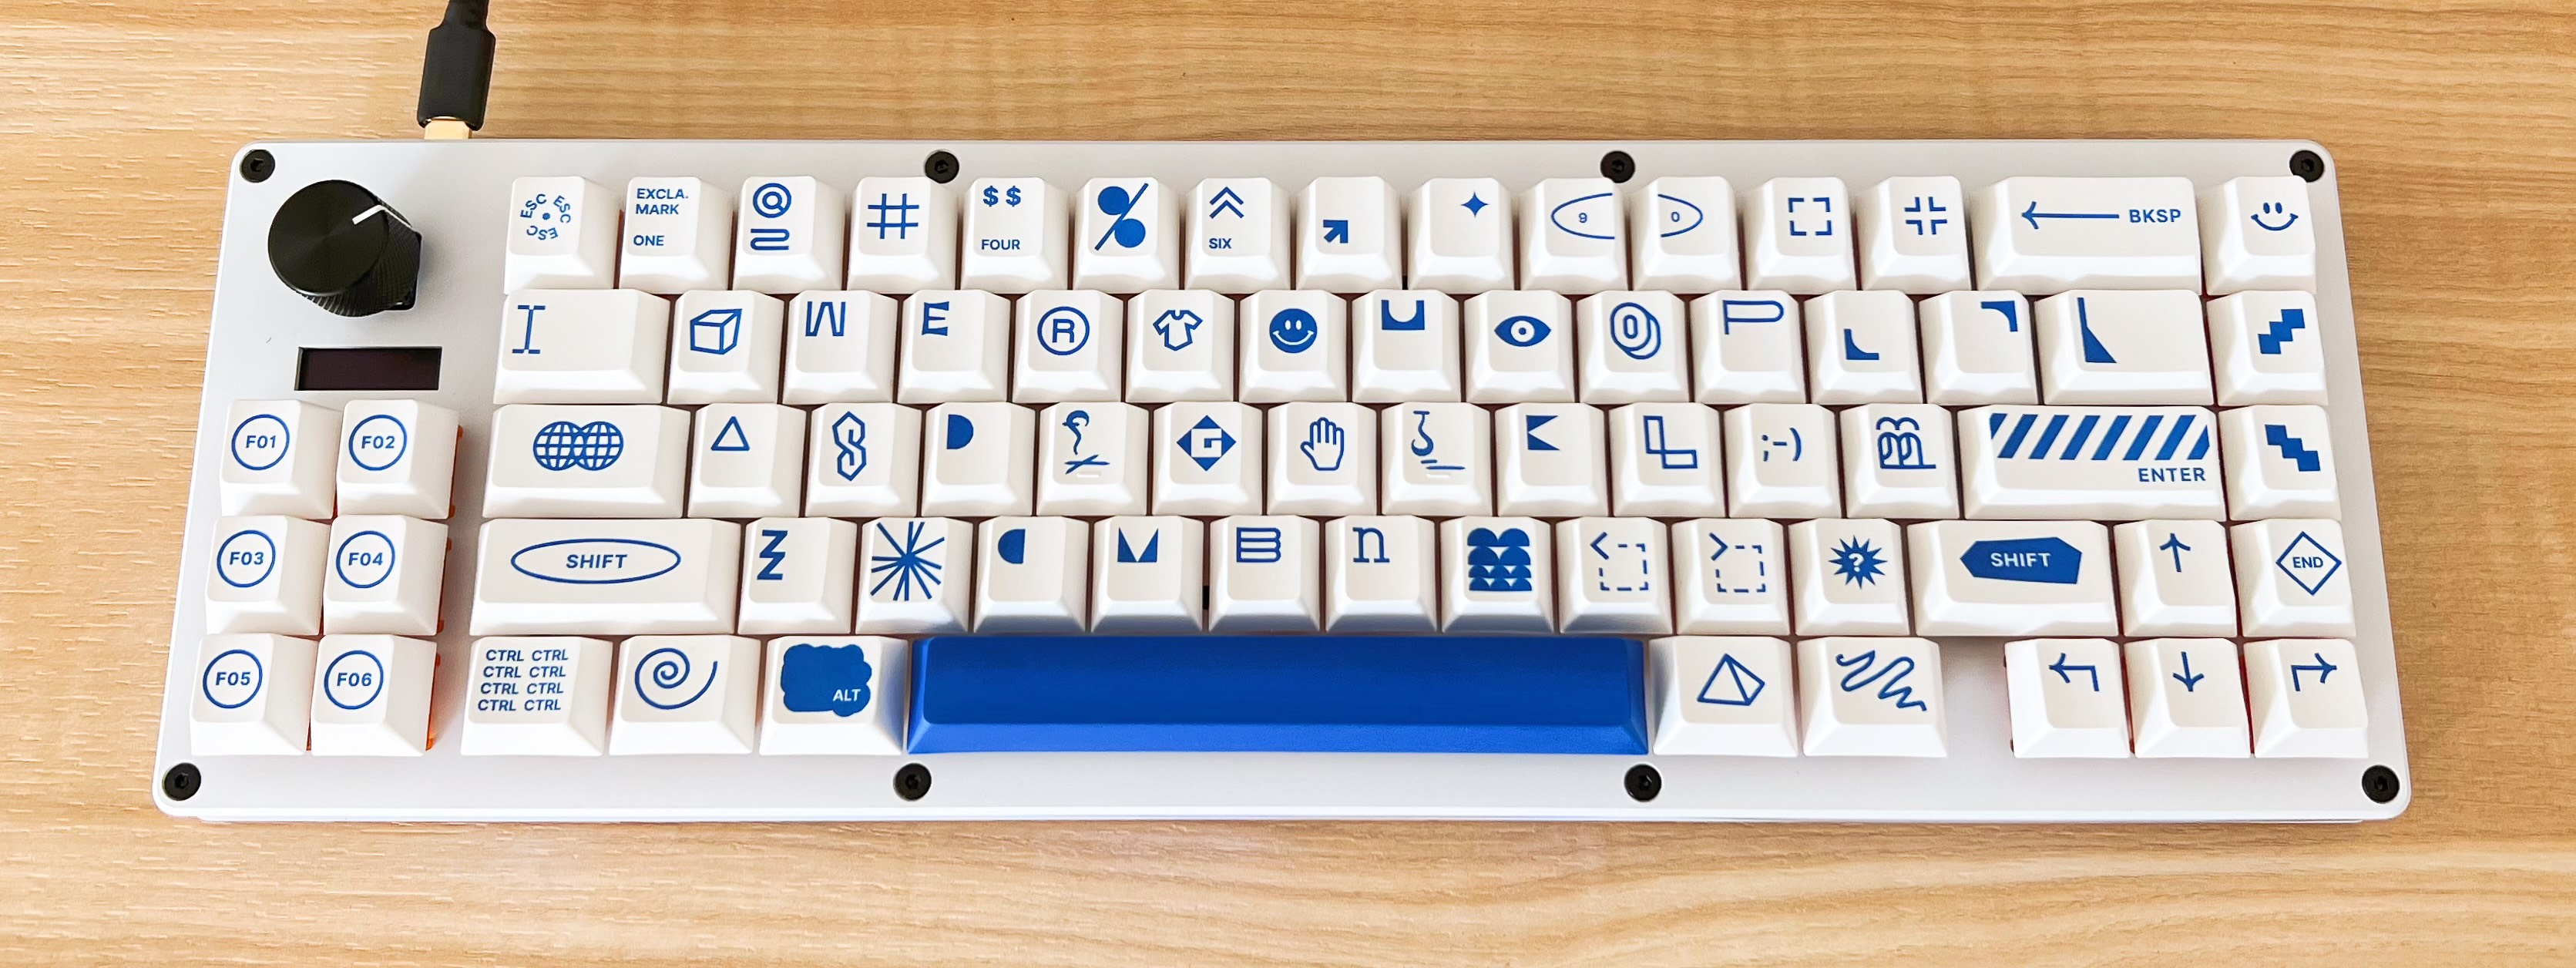
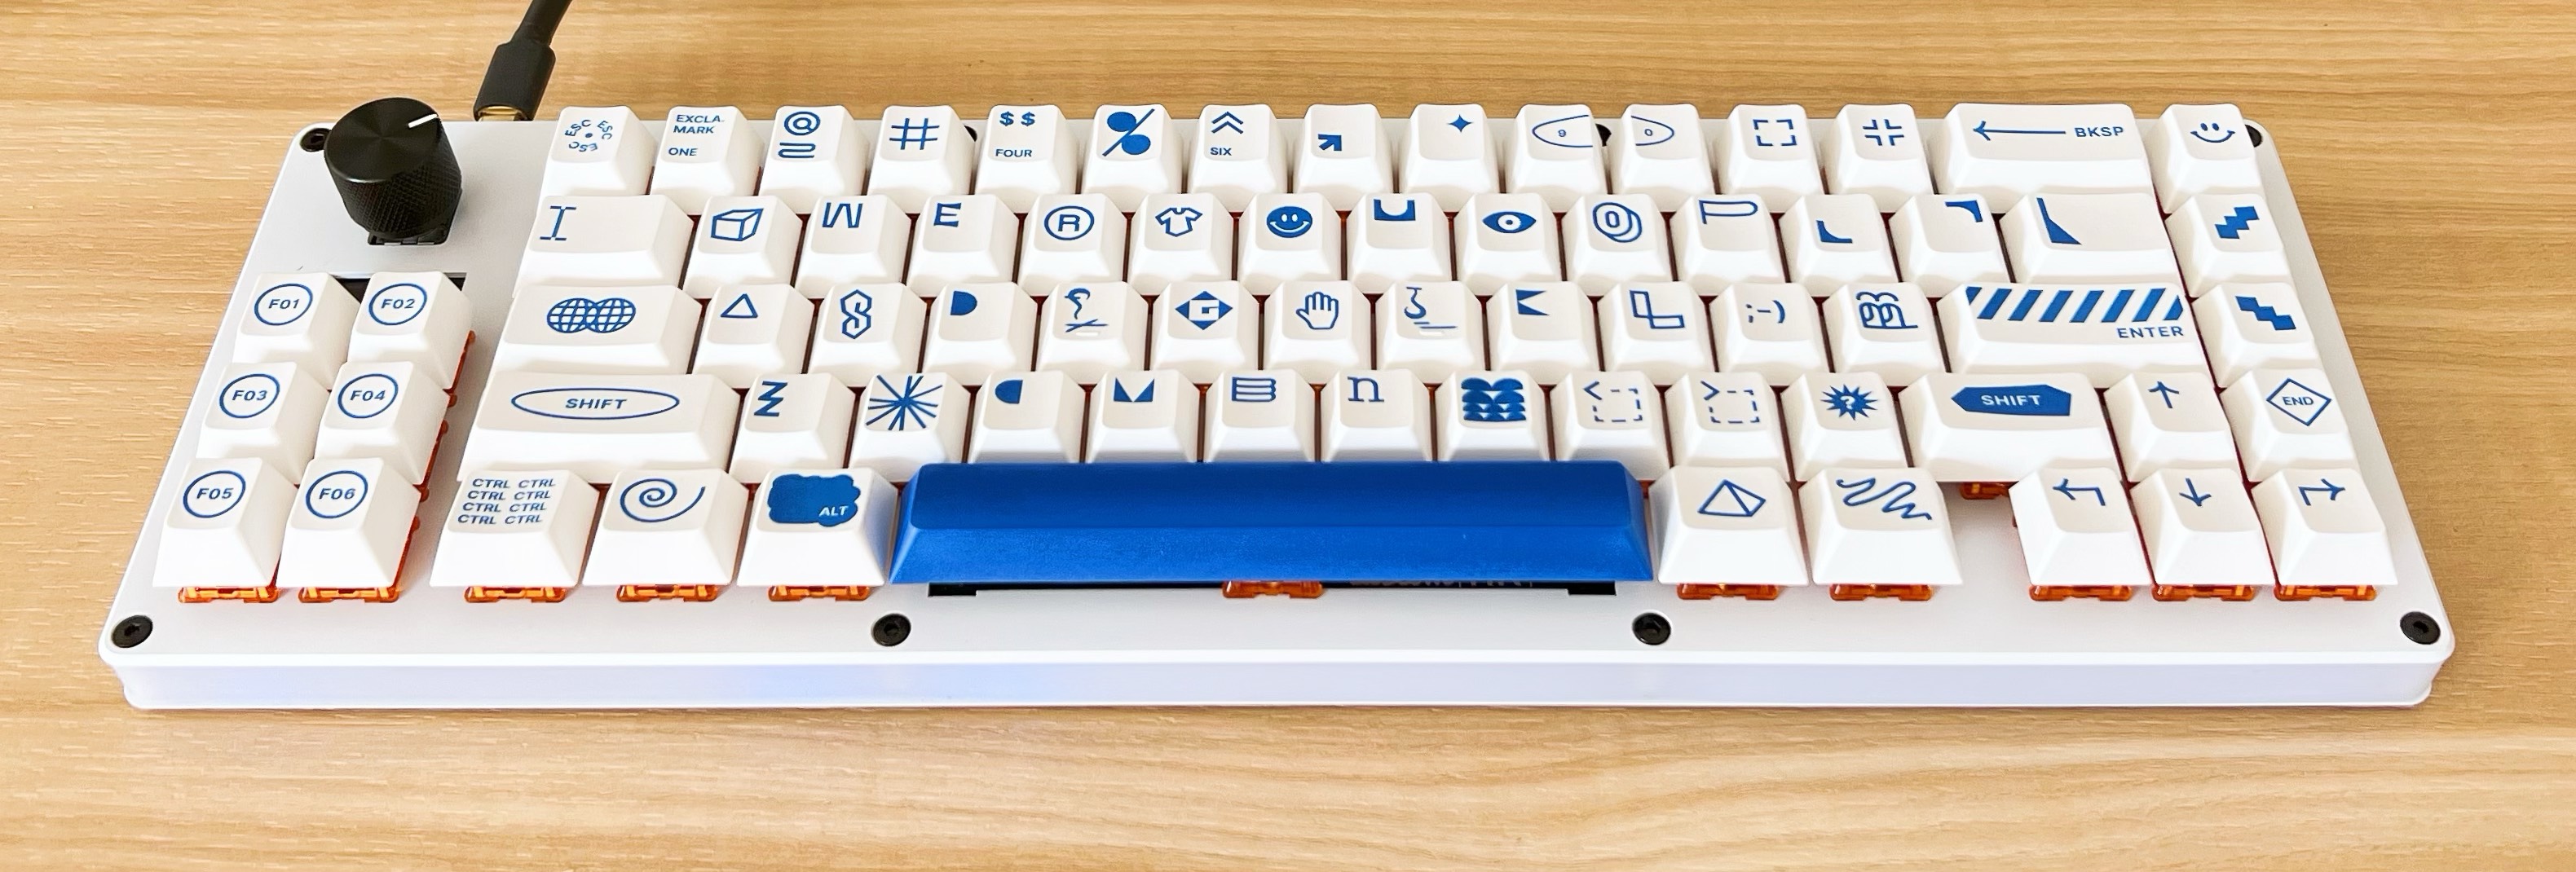
This is the first keyboard group buy1 I joined (instead of buying in-stock options like the ones above), and the team behind CustomMK, the creators of this board, couldn’t have made it a better experience. Not to mention, it was extremely affordable in the first place. I joined the group buy in August 2021 and received the kit in June 2022.
I immediately loved this board as soon as I took it out of the box. I can’t get over how great it looks and sounds, and the keycaps set just seals the deal.